I’ve been wanting to build a smoke shack for quite a while – ok about a year. I want to make my own bacon and smoke sausages which will expand my repertoire beyond bratwurst. Cold smoking is smoking under 90F, preferably a little cooler than that. With that in mind there are a few other considerations:
- I don’t have room for a permanent installation. Living in the western Chicago burbs, my season for cold smoking will run from October to April.
- It needs to be relatively inexpensive (I’ve done this for about $150)
- I want it to be attractive – no little metal store bought box costing twice as much for me!
- I am not a carpenter! The finished product is not perfect or even perfectly square, but it should work
- It needs to be relatively small. I’m not doing any half hogs. The finished smoke box itself is about 24″x 36″ x40″
- I used no plans, just built it from what I thought
A trip to the big box store for:
DAY 1
The first step was to put the wheels on the base.

Next, add some 2×4’s to make a shallow box. Notice I left room for 2×2 uprights in the corners.
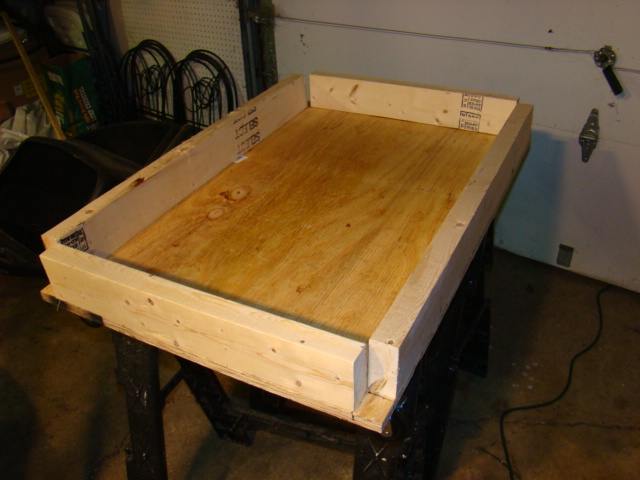
Add the uprights, and braces for the shelf which will form the bottom of the smoke chamber.
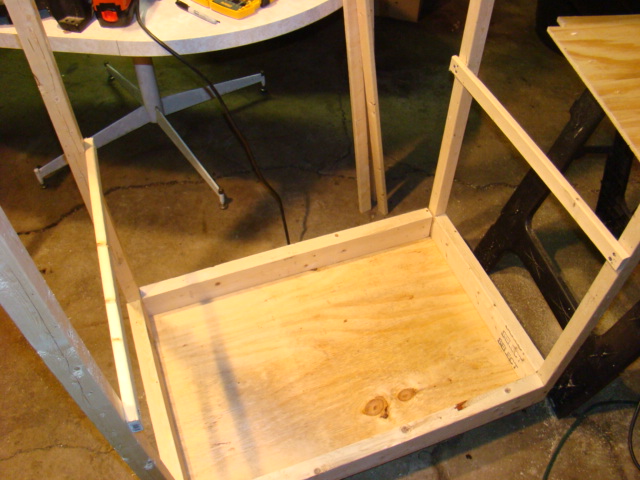
Here is the bottom in place, as well as the rest of the basic box framed up. Notice I did put a pitch on it so the roof will drain.

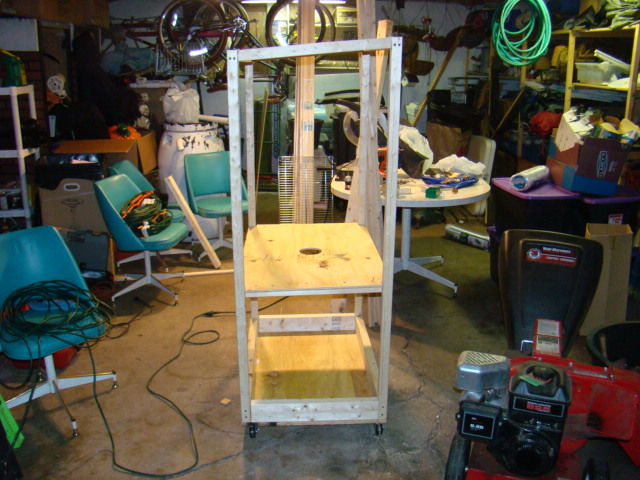
DAY 2
Next, I added framing for the door. I also added supports for the rack using 1×2’s with notches to hold rebar supports and metal shelf. The re-bar and the shelf are removable. I needed to be sure I could get them through the door opening.
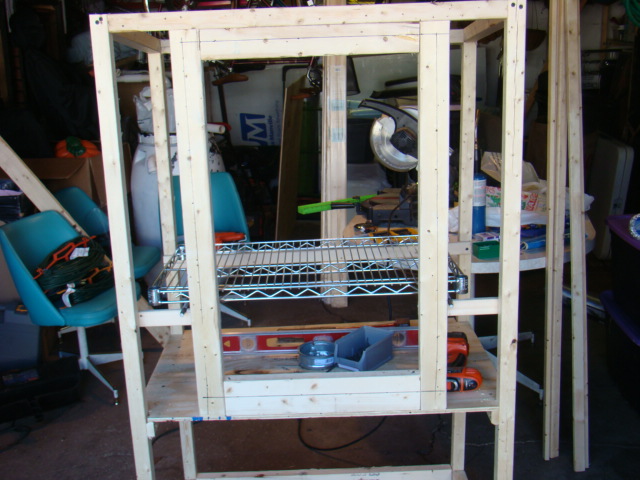
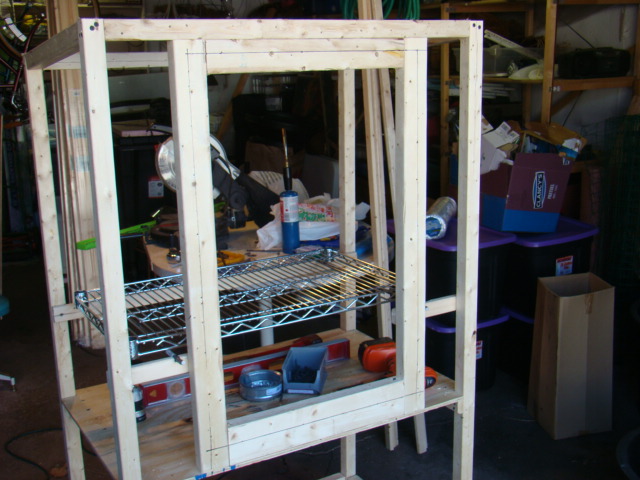
I added some 2×4 bracing to attach rod supports (for a closet) to be able hang food items. The bracing will also give me something more to attach the paneling to.

With that, it was time to start “skinning” the smoker with the tongue & groove pine. Each part was cut to measure to ensure a tight fit. This was so far the most time consuming part of the project.
Here the sides are done.

At this point the battery on my nailer died. While it recharged, I messed around with the smoke delivery system. I used “real” duct tape to attach an elbow on this roof flange which will sit over the fire box.

My initial plan was to use flexible aluminum duct work to route the smoke, It proved too fragile. I’ll have to rethink it.
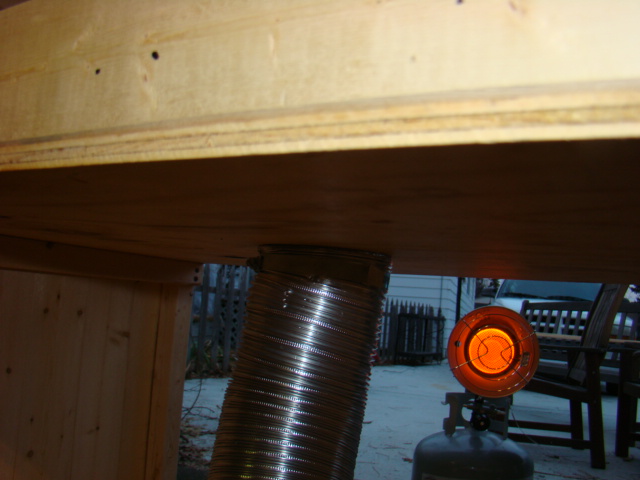
Here you can see that I left the bottom of the back open to allow easy access to the smoke routing system. A little trim work makes it more attractive and finished looking.

Next I made the door and put the paneling on the front of the shack. The paneling is very thin and fragile so I needed to brace it to make it more rigid.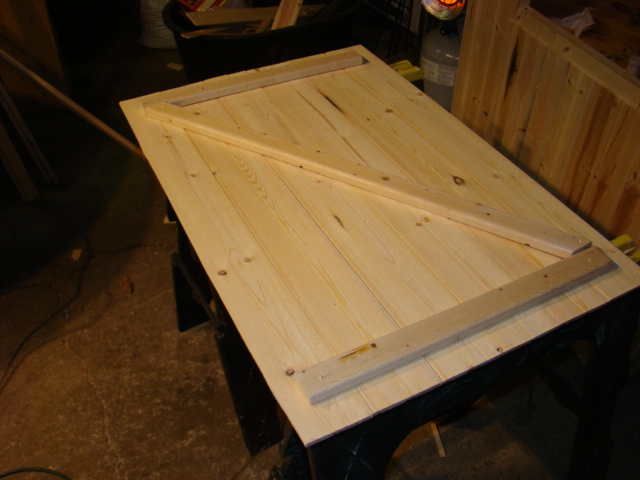
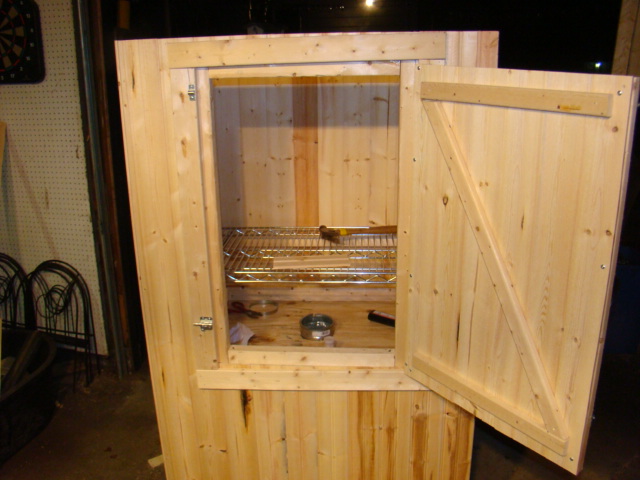
Here we are with the door installed. I added latches to keep it shut was well as a nice handle. Looks like an outhouse! Notice the shot with the door open, the door overlaps the door frame, hopefully creating a seal.


I put in about 10 hours on Day 2. (I’ll be doing penance in honey-do’s).
So what’s left?
- Roof
- Smoke stack installation
- Rebuilding the smoke delivery system
- Thermometer installation
- Test run
- BACON!
Until next time, Eat Well & Keep Digging!



November 27, 2010
>David it's looking great!
November 27, 2010
>Gee, for someone who isn't a carpenter, it looks pretty perfect to me! Please keep us posted on how the rest of it goes.
November 28, 2010
>Thanks Cowgirl, I consider that high praise from a pro! Thanks again!
November 28, 2010
>Thanks Becky, hardly a carpenter – just a suburban desk jockey with a taste for homemade! I'll certainly keep you updated and can't wait to try it out! Thanks for checking it out!
January 12, 2011
>great work! and it looks like you've gotten great results. i've wanted to build a real 'old timey' smoke house. i would love to do our own hams.
January 13, 2011
>Thank you Ohiofarmgirl! So far I am very please with the results. My ispiration was Cowgirls design, but being in suburbia, I needed to adapt it to be portable.
A whole ham would be awesome! The canadian bacon turned out very nice.
February 21, 2011
>We think we might try to adapt an old filing cabinet…
February 21, 2011
>Hi Helena, that would be interesting. Metal or wood? Hot or cold smoke? Please keep us posted!
November 20, 2011
hey that really looks great. now i am thinking about one this spring
November 20, 2011
Hi Corky. As this is a cold smoker, you want to use it in the colder months. Spring might be getting too late.
January 2, 2012
Is there a part 2 to this smoker ?
January 2, 2012
Yes there is Tall1Smokey… http://www.gastronomicgardener.com/smoke-shack-part-ii-test-run/
Thanks for stopping by!